Case Study of our Professional Driveways and Patios in Hull.
The case study below demonstrates a step-by-step process of a block paving project taken on by Premier Paving. Hazel Cottage was a run down derelict building when the present owners brought it some years ago. After finishing the restoration work on the interior of the property, the owners decided they would like their driveway and patio block paving. The job was 150 square meters and took 10 days to complete. Below are some images, together with descriptions, of the steps as the job progresses from baron wasteland to a driveway of distinction.
-

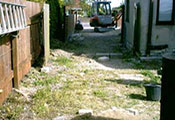
1. Baron Wasteland
The patio area was just a baron wasteland when we turned up to start the job.
-
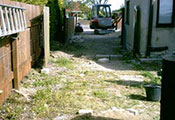
2. More Wasteland
As was the driveway and car parking area.
-

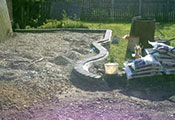
3. The Job Begins
The digging out begins and nearly 30 tons of top soil and rubble are removed. The excavation is then topped up with a sub base made up from crushed concrete and limestone.
-
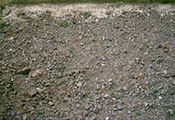
4. Levelling Off
The crushed concrete is then levelled out and compacted either with a whacker plate or a mini roller. Then topped up to required level before adding the sand.
-
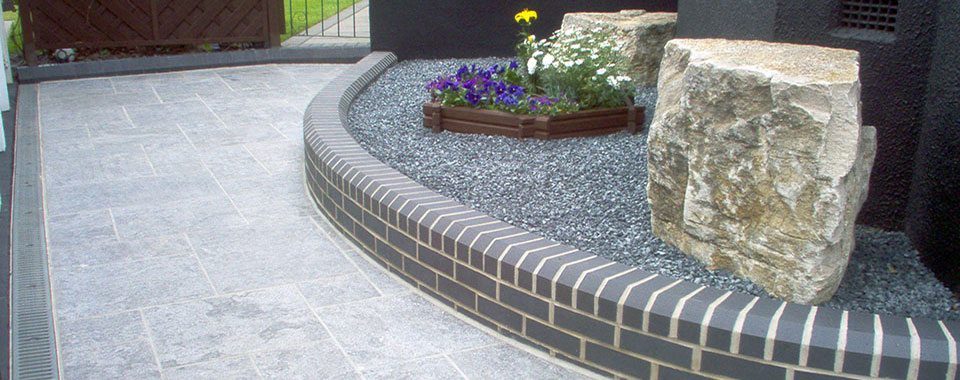
5. Operative Initiative
The customer was stuck for the patio design until a member of our team suggested to put a bit of character in the edging of the patio to define its status from the driveway.
-
6. Block Paving Begins
The block paving is then laid on the prepared surface and laying commences from the driveway entrance right round to the patio area in the rear of the premises.
-
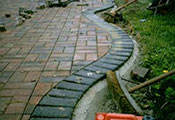
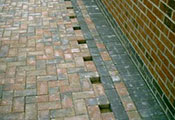
7. Finishing Touches
Once all the blocks are cut, silver sand is applied to the joints and vibrated in. This bonds the blocks together and leaves all the blocks flat with a smooth finished look to it.
-
8. The Driveway Before
This is what the driveway looked like when Premier Paving arrived at Hazel Cottage.
-
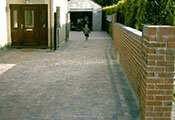
9. The Driveway After
This is what the driveway looked like after Premier Paving completed the block paving project.
-
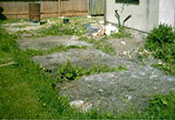
10. The Patio Before
The is what the patio area looked like when Premier Paving arrived at Hazel Cottage.
-
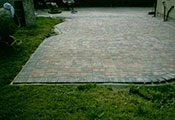
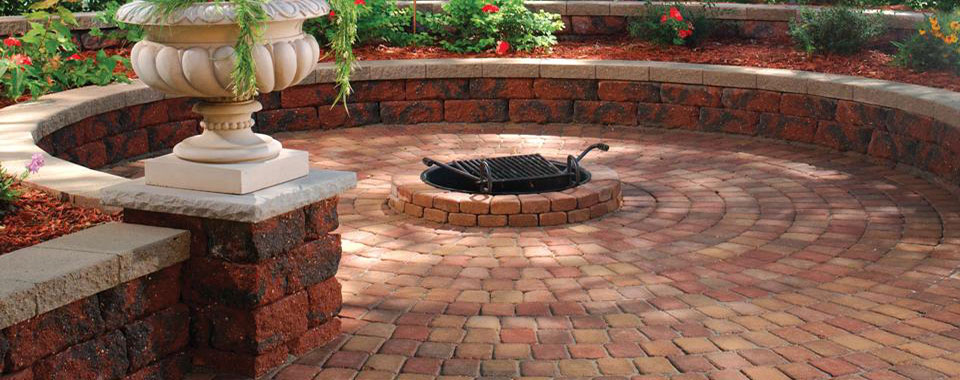
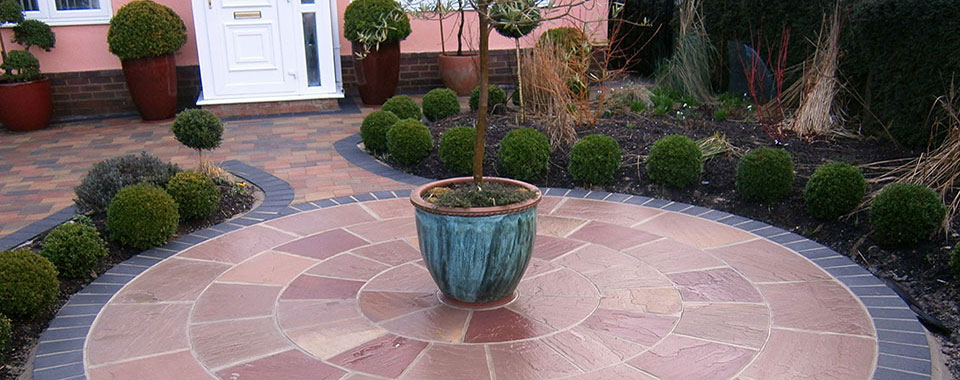
11. The Patio After
This is what the patio area looked like after Premier Paving completed the block paving project.